
Up in minutes. Ready for years.
No drilling. No wiring. Everything you need is in the box.


Mount it in four simple steps.

Choose the spot
Check the position before removing the adhesive liner.

Clean and dry the surface
Clean the exact mounting area and allow it to dry completely.

Position and press
Peel off the VHB liner, align the light and press it flat against the RV surface.

Choose a mode and test
Use the housing button to cycle through the four modes, then test the sensor after dusk.
Install it in six steps.

Mark the points
Place the mounting template level against the wall, then mark both drilling points.

Drill the holes
Drill both marked points using a suitable bit for the surface.

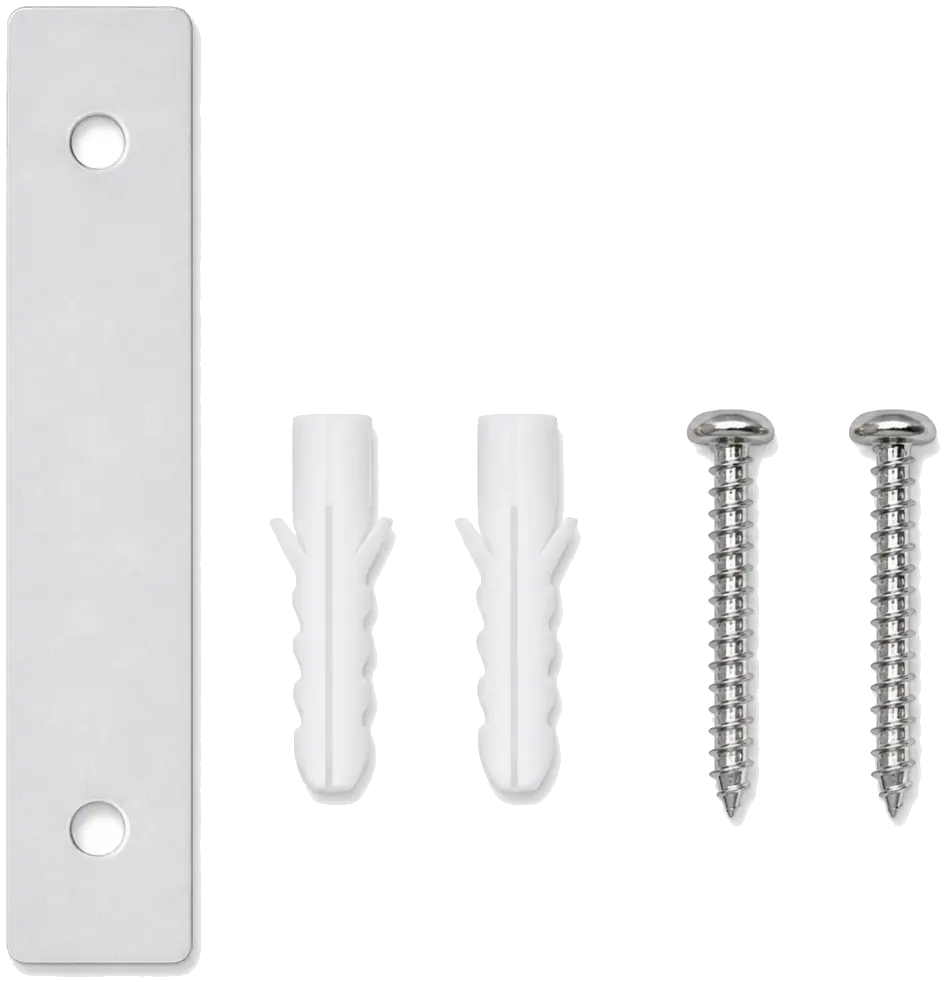
Insert the wall anchors
Push both wall anchors fully into the drilled holes until they sit flush with the wall.

Install the screws
Drive both screws into the anchors, leaving each screw head about 4–5 mm from the wall.

Hang the light
Align the rear mounting slots with the screw heads, then slide the light down until it locks securely into place.

Select a mode and test
After dark, select your preferred mode and walk within the sensor range to confirm that the light turns on.
Remove in 3 Simple Steps
Spray the edges
Spray adhesive remover into the gap.
Wait 15 minutes
Let the adhesive loosen.
Remove the light
Pull it off gently and wipe the surface clean.
Before you mount it.
